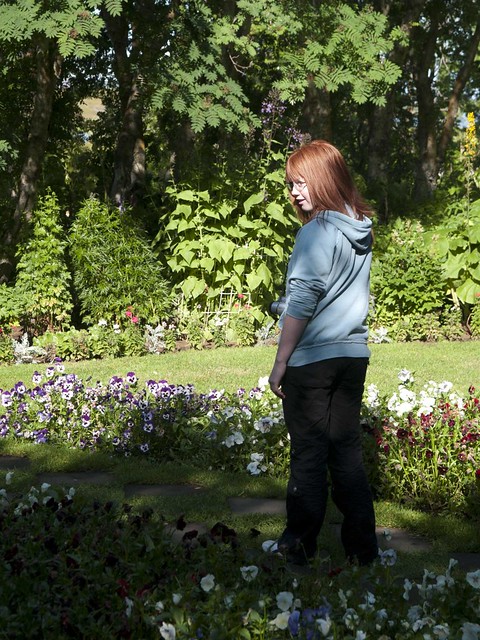
While not as extreme as the example in the workbook the lower half of her body is quite well hidden in the shade and the upper half is also broken up by shade patterns.
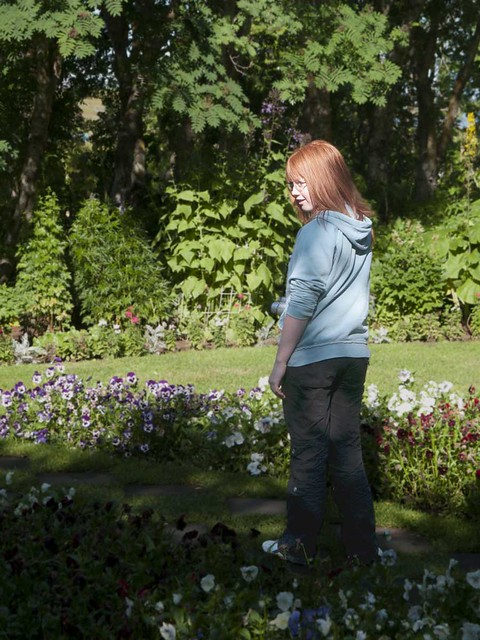
Before trying the suggested Photoshop (PSE2) techniques I tried improving the shot directly in Lightroom 3 (LR) using the adjustment brush to loosely select all of the shaded areas in the foreground and the whole figure bar her face. I then slightly increased brightness and adjusted the contrast to retain a more natural feel. I also increased the saturation in the selected area a little. By careful use of the feathering control I was able to minimise the need to accurately select the figure. This was especially useful around the trousers where the edge was not always clearly defined.
The end result is here – and is a clear improvement on the original:

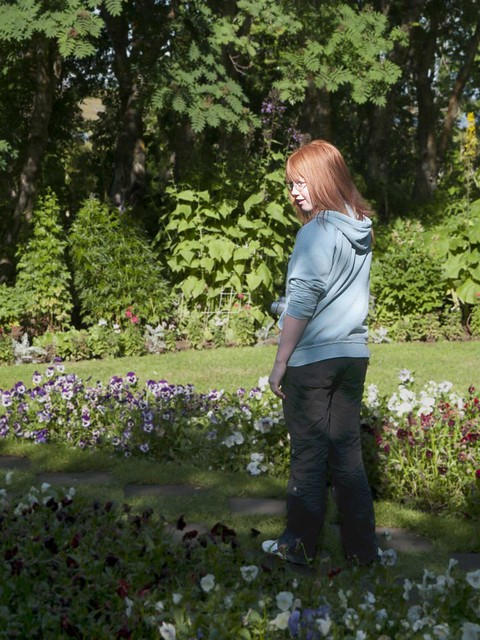
My next attempt was using PSE2 – I exported the original as a TIF and selected the figure using the selection brush. I did this by working on a layer which I had brightened to improve visibility of the trousers against the dark background. I then saved the selection, deleted the layer and imported the selection into a new layer.On the first attempt I only selected the figure, and the following is the best I could achieve with the brightness, contrast and levels tools. To my eye this is inferior – with the girl beginning to look a little washed out while her trousers are still lost in the shadow.
As a final comparison I used PSE2 but adopted the same approach as in the LR version – selecting all the shadow area as well as the figure. the result (below) is a significant improvement on the previous attempt, but I felt that overall the selection process was more long-winded than in LR, and the results were still not as good – in particular the hair colour is less saturated and the area visible between the legs of the jeans looks less natural. I’m sure that with further work this could be improved, but this is already a more long-winded process than LR and suffers from the quality disadvantage of not having the RAW data to work with.
Conclusions
Firstly – and not the primary aim of the exercise – it is clear that in spite of the flexibility of Photoshop Elements there are some real advantages to the workflow in Lightroom.
Moving on to the primary aim of the exercise - I have no doubts that all these adjustments are perfectly legitimate in most cases, for a number of reasons:
- nothing has been added or taken away from the picture – the content is as it was
- technically we are not doing anything in these pictures that might not have been achieved to a similar level of success with fill-in flash – and I don’t think anyone suggests that is unethical
- the end result is probably closer to the visual impression the photographer would have received because of the way the eye works – so we are, once again, compensating for a technical limitation of the equipment.


No comments:
Post a Comment